
A DIY Bathroom Renovation Guide
When it comes to enhancing your living space or increasing your home’s worth, bathroom renovations can be a thrilling and beneficial endeavor. Even if you’re working within a budget, you can still bring your ideal bathroom vision to life with some knowledge and patience. So, reach out to good bathroom remodeling companies.
How to renovate your bathroom yourself?
This captivating and practical guide will walk you through the stages of a do-it-yourself bathroom renovation, from planning and budgeting to fixture installation and adding the finishing touches.
Formulating Your Bathroom Renovation Plan
The cornerstone of any effective DIY project is a well-laid plan. Prior to embarking on your bathroom renovation, take time to ponder on the needs and desires of your space. Which features are essential, and which ones would you like to incorporate if budget permits? Consider these aspects while crafting your plan:
- Design: Decide on the optimal bathroom layout based on your needs and the space available. Sketch out a rough diagram to envisage the final look.
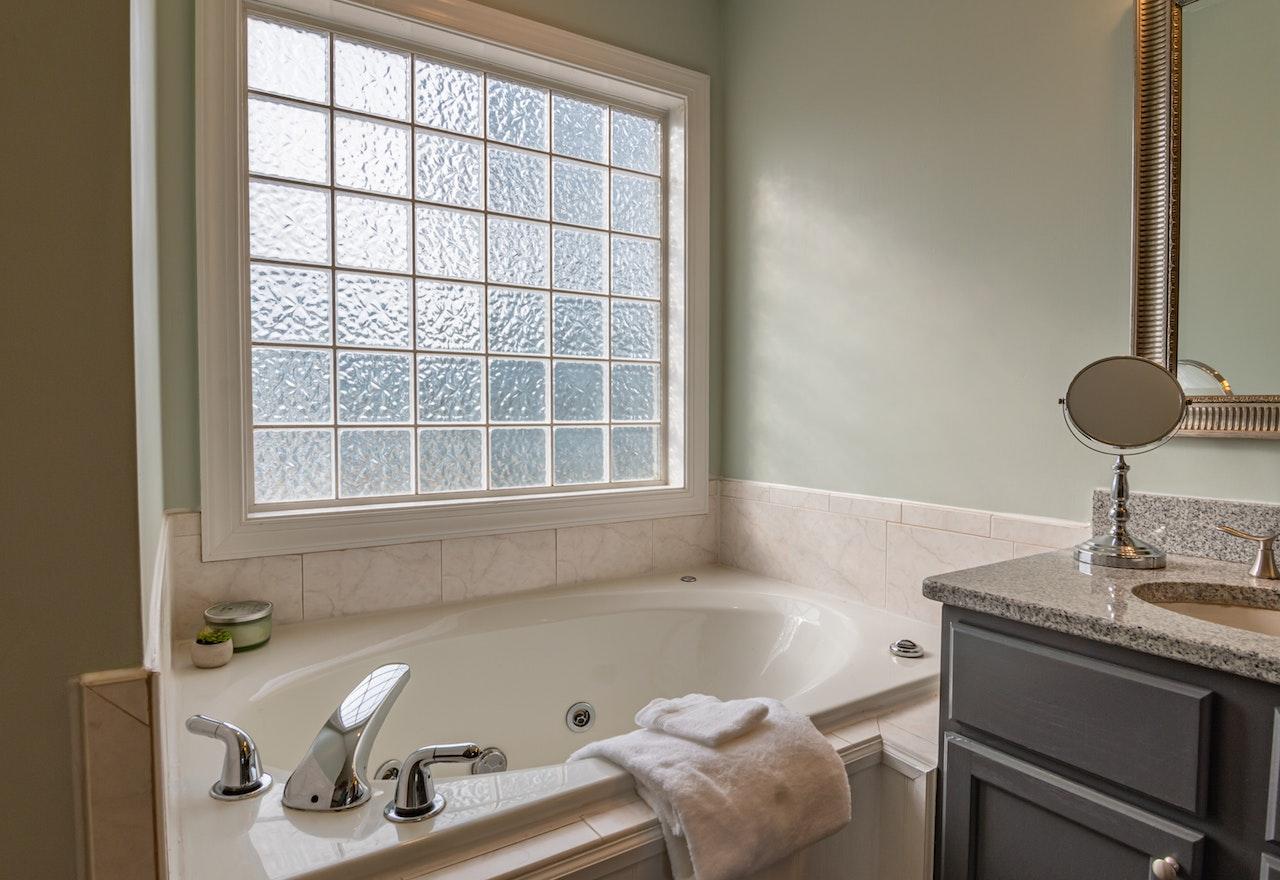
- Amenities: Select the kind of amenities you prefer, such as the bathtub, shower, toilet, and sink. Evaluate energy-efficient and water-saving alternatives.
- Storage: Strategize ample storage solutions like cabinets, shelves, and hooks to maintain a tidy and clutter-free bathroom.
- Lighting: Contemplate ideal lighting solutions for your bathroom, keeping in mind both task and ambient lighting possibilities.
- Ventilation: Review your existing ventilation system and decide whether it needs upgrades to prevent the proliferation of mold and mildew.
Budgeting and Assembling Materials
After you’ve crafted a specific vision for your bathroom, it’s crucial to construct a budget. This will guide you in making informed decisions when choosing materials and fixtures. To build a budget, consider the following:
- Labor expenses: If you’re undertaking the work yourself, account for the time and effort each task demands. If you need to engage professional bathroom renovators for any part of the project, research local prices.
- Materials: Investigate the costs of fixtures, tiles, paint, and other materials you’ll require for your renovation.
- Emergency fund: It’s wise to set aside a part of your budget for unexpected expenses such as unforeseen plumbing or electrical issues that might arise during the project. This allocation is known as an emergency fund.
With your budget defined, start assembling the materials needed for your renovation, including tiles, paint, fixtures, and tools. Remember to shop around for the best deals and consider repurposing or recycling materials to save costs
Space Preparation
Prior to installing any new fixtures and finishes, it’s crucial to prepare your bathroom. This involves removing old fixtures, tiles, and cabinets. Take the following actions to ready your space:
- Shut off the water supply: To prevent leaks and water damage during the renovation, locate the shut-off valves for your bathroom’s water supply and turn them off.
- Remove old fixtures: Safely remove fixtures you’re replacing, such as the toilet, sink, and bathtub. Disconnect any plumbing links before starting the bath remodel project.
- Clear the area: Take out any cabinets, shelving, and other items from the bathroom to create a clean slate for your renovation.
- Resolve any problems: Examine the space for signs of water damage, mold, or mildew. Resolve these issues before proceeding to ensure your bathroom environment is healthy and safe.
Fixtures and Finishes Installation
With your space primed, you’re ready to install your new fixtures and finishes. This phase may involve painting, tiling, and installing new fixtures. Adhere to these steps to ensure a successful installation:
- Bathtub and shower installation: If you’re putting in a new bathtub or shower, comply with the manufacturer’s guidelines for correct installation. Confirm that plumbing connections are secure and watertight before moving ahead.
- Tile placement: If you’re tiling your bathroom floor or walls, start by spreading a thin layer of mortar on the surface. Lay the tiles according to your chosen design, using spacers to maintain uniform grout lines. Allow the mortar to set before applying the grout.
- Toilet and sink installation: Follow the manufacturer’s guidelines for installing your new toilet and sink. Double-check the plumbing connections to make sure they’re secure and leak-free.
- Wall painting: If painting is part of your renovation plan, start by applying a primer made for moist environments. After the primer has dried, use a quality paintbrush or roller to apply your chosen paint color. Let the paint dry completely before progressing.
Storage and Lighting Additions
With fixtures and finishes installed, turn your attention to storage and lighting solutions for your bathroom. These features are key in crafting a functional and inviting environment. Consider the following steps:
- Cabinet installation: If you’ve decided to include cabinets or vanities in your design, carefully install them following the manufacturer’s instructions. Ensure they’re level and securely fixed to the wall.
- Shelving and hook additions: Add extra storage solutions like shelves and hooks to keep your bathroom tidy. Select materials that match your design and can endure the moist environment.
- Lighting fixture installation: Install your chosen lighting fixtures as per the manufacturer’s instructions. Ensure all electrical connections are secure and conform to local building regulations. Use a mix of task and ambient lighting to create a well-lit and warm space.
The Final Touches
The last step in your DIY bathroom renovation is adding the final touches. These details will breathe life into your design and create a polished, cohesive appearance. Consider the following finishing touches:
- Caulking: Apply caulk around the edges of your bathtub, shower, sink, and any other areas that may be susceptible to water seepage. This creates a waterproof seal and helps prevent water damage.
- Hardware installation: Install any hardware like towel bars, toilet paper holders, and cabinet handles or knobs to round out the bathroom’s look.
- Decoration: Add decorative items like artwork, rugs, and shower curtains to personalize your space and make it more welcoming.
Clean-up: Thoroughly clean your bathroom to remove any dust, dirt, or debris that might have been left behind during the renovation process.
Conclusion
While a do-it-yourself bathroom renovation might seem daunting, it becomes manageable with careful planning, a realistic budget, and a step-by-step approach. You’ll end up with a functional and beautiful space that suits your needs and reflects your unique style. This guide is informative and engaging, and by following it, you can beautifully transform your bathroom, adding value to your home and enhancing your daily life.
Embarking on a DIY bathroom makeover is not just a fulfilling project that allows you to express your creativity, but it also offers a chance to acquire new skills and bolster your confidence as a homeowner. No matter what happens, always remember that you should talk with good bathroom remodel contractors for the best work. This will ensure that your investment is not going to waste. abbruz
Post your comment